Here is the article that was assessed for my sub-editing task:
DOUBLE PAGE SPREAD ARTICLE - BEAMING
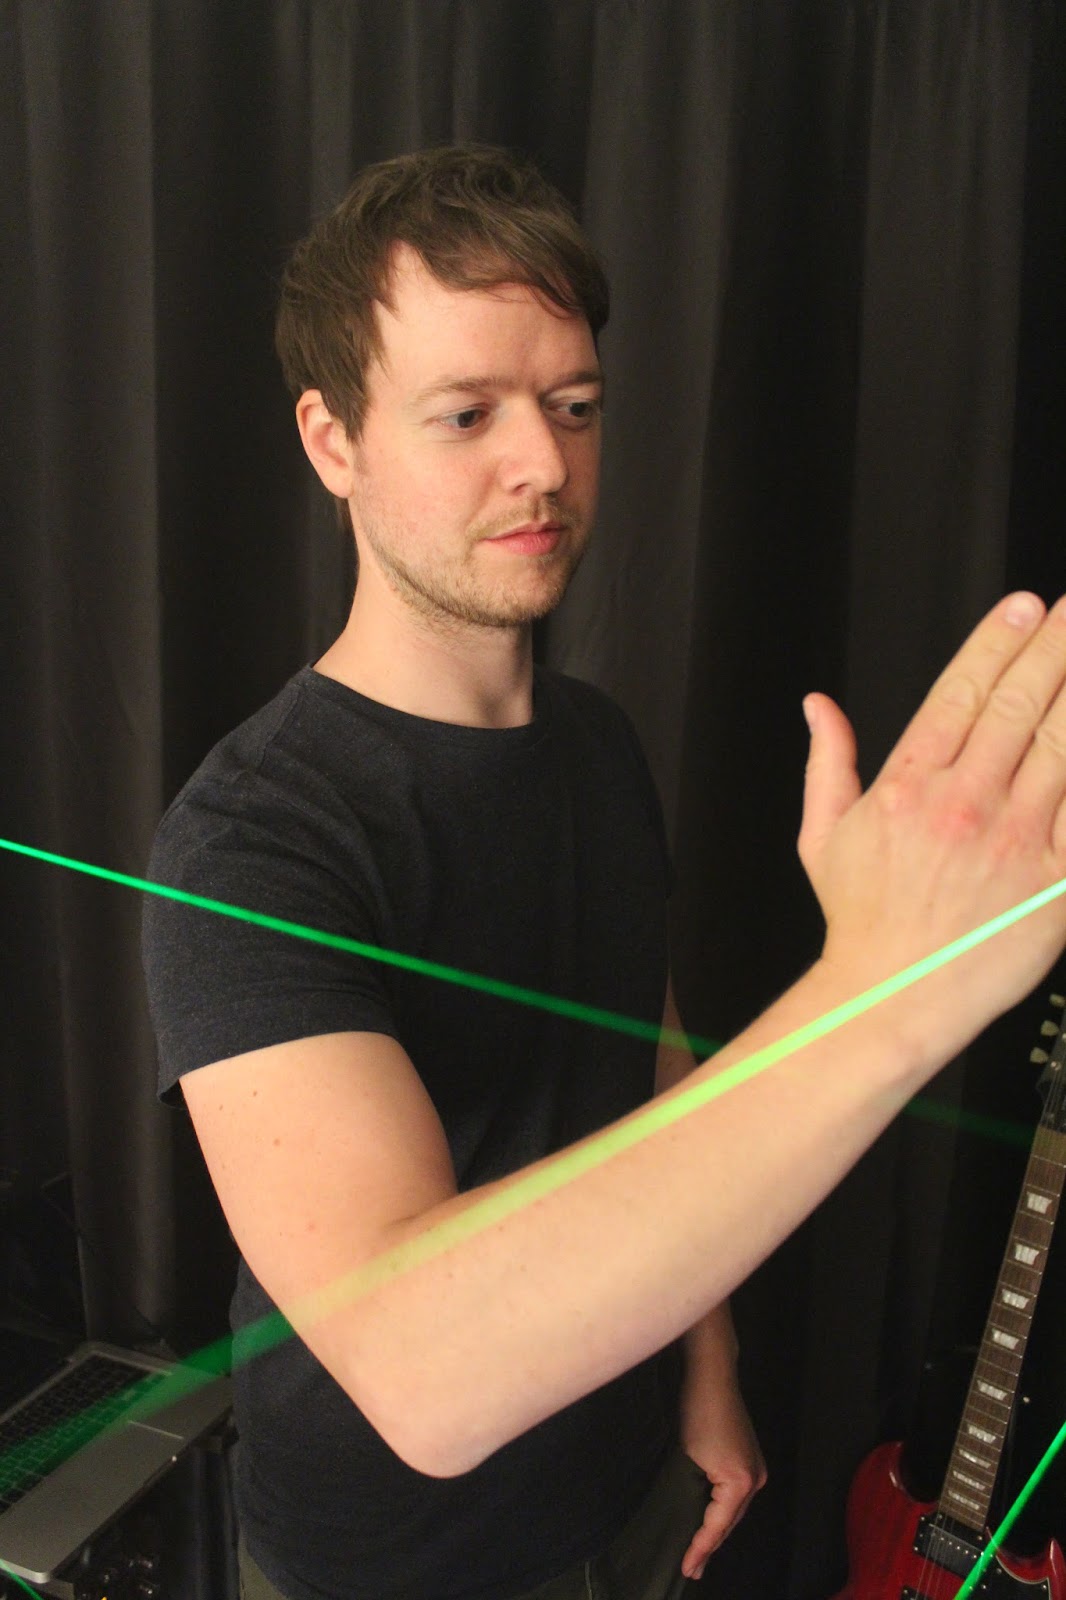
In a world in which music technology is developing quickly and becoming increasingly relevant to live performances, it’s getting harder to be innovative - especially in the dance scene. Josh Shirt, otherwise known as “Shirty”, has defied that trend and created something new and intriguing - a laser drum kit. Essentially, music is created entirely kinetically, by moving your arms and hands to break laser beams. It’s an exciting project which is just getting off the ground, with the drum kit, in recent months, being displayed in venues such as the London Science Museum and the Museum of Science and Industry in Manchester.
A lover of homemade gadgets and making things from scratch, Shirty’s aim for over a decade has been to become a skilled music producer and to invent new ways to create music and DJ - he is a firm believer in Picasso’s saying, “I am always doing that which I can not do, in order that I may learn how to do it.” He’s had a strong interest in both music and technology throughout his life, meaning he’s ideal for giving dance music a real freshen-up in the way it is played live - his laser drum kit certainly makes a gig a whole lot more interactive. His whole set-up now for playing live seems unique, exciting and finely-tuned. We took a trip to Brighton to visit Shirty and ask him all about it…
- First of all, what exactly does your laser drum kit do and how does it work?
It turns movement into sound - and it does it in a visual way, in that there are laser beams which are visible. When those laser beams are broken by your hand, or by your leg, or by a spinning bicycle wheel, or by a door that opens and closes - depending on how the beams are set up -sounds are then played based on those movements.
- How did you first come up with the idea for a laser drum kit?
I’m really into DJ’ing and performing electronic music. Electronic music typically was played from CDs or vinyl records that a DJ would use to mix from, so you would play one record and then you would get a second record in time, and you would fade that second record in as the first record was ending. This was really cool, and was an art form in that the DJ could play whatever they wanted to in a continuous flow of music that took you on a journey. The space in between the tracks where the DJ was mixing, you ended up having something totally new created, because you might have the baseline from one record mixed with the treble part from the other record. And so, this is what DJ’ing used to be, and it used to be clear what the DJ was doing, because you could see them placing records onto turntables, moving the fader on the mixer, and getting the records in time by moving the pitch control on the record player. All of this was really exciting for me, because you could see that someone was creating something in front of you - they were performing. Then this time came when the computer started doing everything for people, and that’s when it started to look as though people were checking their emails [rather than actively creating music]. What I wanted to do was take dance music performance back to a point where it’s clear that the DJ is performing, and is creating the music that you’re listening to. DJ’ing has always been about that, but it was restricted by the format - with vinyl records, people would do something called beat juggling, where they’d cut back and forth on a crossfader between two records, in order to make a continuous loop of one part of what was on those discs. They’d play a section of one record once, and then they’d very quickly cue up the second record, and they would let go of that record so that it started spinning at exactly the right time. Then when they cut back to it, that loop continued. All of this had a lot of skill to it, and it was exciting - I feel like that has been lost. So I wanted to take all of the things that people are doing now using computers - which is really exciting, because you can have so many samples and sounds available to you - and do it in a way where I wasn’t looking at the computer, where you could clearly see me moving and the music being made from that - whether that’s playing the laser drum kit, or playing something on keyboard, or playing something on guitar, which are the other parts of my live performances. Nightclubs are classically very dark and smoky, and so I figured that lasers would show up really well and would allow people to see what it was that I was doing.
- Originally, what was your plan for your laser drum kit once you had built it?
To take it out into the world and perform dance music using it, to people in clubs and people partying!
- Has that plan changed at all since?
No - I’ve got a few more strings to my bow with it now. I’m installing it places so that other people can play on it and make music with it. It’s a really cool thing to teach music with as well, because it’s very intuitive and people can see very clearly that they can easily make a sound using it. It’s a really cool thing for people to try out, so that they can make music for themselves in a really fun way, which is very creative.
- Where did your love for creating and building new things come from?
That’s a tricky question [laughs]! Was it just natural? Yeah… it was natural, yeah. The cool thing about making anything is that it’s a process of adventure - you don’t know exactly what you’re going to end up with when you embark on inventing or making. Whether that’s music, or photography, or hacking things… and that’s what I like most about it, the fact that you can have a completely unique experience each time you make something, which is similar to going on an adventure travelling. There’s something really rewarding, as well, about making something from nothing, essentially. There’s something that’s quite magical about that, so yeah, it’s just good fun.
- What was the most challenging thing about building the laser drum kit?
It was like with anything that I’ve made - there were loads of things that were really annoying at the time, but nothing really ultimately that bad, because I found ways around problems. It [the most challenging thing] was probably the uncertainty of not knowing how good it could be, even if I put a lot of time in - I had an idea of what I wanted to do, and I was keen to get to that point with it. But I suppose it was kind of a nagging doubt that it might not work in the way that I wanted it to, or it might not be possible to do that. Overall, I think that was the most difficult thing about it, rather than a single problem that I faced.
- You now go to events around the country, showing your laser drum kit and playing it live at gigs. How did it start to gain interest from the public?
I approached the Science Museum in London last April, and they run a night called “Science Museum Lates”, which they said gets in about 3000-5000 people each time. I’d been along to it before and it’s really cool - it’s essentially an exhibition of technology and ideas related to a chosen theme each month. That theme changes from month to month, and [at the time] they were having a “Science Museum Lates" night about “wearable technology”. I approached them when I saw that that was the theme, because even though my laser drum kit isn’t something that you wear, it’s something that interacts with your body, and the way that you move your body, or use your body - similar to other wearable technologies like a smartwatch or a pedometer. So I approached them about exhibiting it at that event, and they were really welcoming and happy to have me display it. That went really well - lots of people came along and played on it and enjoyed it - and then their theme the month after was “Light”. It [the laser drum kit] was also a perfect fit with that theme, obviously, with it being lasers, so I contacted them again about that and they said they’d really like to have me back again for that. This just started the ball rolling really - from that, I got gigs with it in Manchester and the Museum of Science and Industry and I’ve displayed it three times in Bradford for the National Media Museum. By doing those gigs and now publicising those on my website, it’s leading to more and more opportunities to show it based on people I contact and ask if they’d be interested.
- What’s the feedback been like from people who’ve seen your drum kit?
Really good - people love it. People who play on it are always beaming, and people really enjoy it and it’s a talking point, I think. It’s something different and unexpected, and it feels very science-fiction, like something out of a piece of science-fiction writing. There’s something that really captivates people because of that about it. So most people enjoy playing on it, and there’s always big queues of people waiting to play on it when I install it anywhere. When I perform with it at gigs, after I finish playing, I invite people to have a go on it often, and I end up with a big queue of people waiting to come along and try it. Lots of people take photos and videos, and I’ve recently configured it in a new shape, which is more camera-friendly. I’ve started to get a few posts on Twitter and Instagram now that other people have posted of them playing on it, so it’s good.
- How would you describe the type of music that you play with it?
I make melodic, progressive dance music, so it has its influences in trance music from the late 90s and early 2000s. It’s also got some progressive rock influence to it - I often play electric guitar as part of my performances. And so it sounds very spaced-out, quite psychedelic, there’s lots of reverb… it’s kind of ambient electronica at times, and at other times it’s just good, fun party music.
- What is your full-time job aside from this laser drum kit project?
I am a voiceover actor for my full-time job, so I record advertisements, documentary narrations and corporate narrations.
- In the future, could you see that job changing to involve your laser drum kit, instead of doing voiceovers?
I don’t think that the two are mutually exclusive, so I think I’ll always do both. I am managing to make money from performing with my laser drum kit, and I’m doing that alongside my voiceover job. I think that’s how it will continue, because I enjoy doing both things, and they complement each other.
- How do you see music technology evolving over the next few years and into the future?
There’s loads of interesting stuff happening at the intersection of science and music, and lots of people are designing instruments at the moment. They work in different ways - some of them are very good at producing interesting sounds but they’re not very playable, while other people are aiming to create new interfaces to interact with music software through, like my laser drum kit. A lot of people are interested in being able to play instruments that exist in thin air - so my laser drum kit is very visual, it’s very clear where the beams are, but there’s a few instruments now where it doesn’t matter if there is any visual part of the performance. For example, there’s an instrument that uses the Oculus Rift virtual reality headset, and the user can see in front of them where the instruments are, or where the pads are that they need to hit to make sounds. But anyone watching them can just see someone stood in an empty space and moving their arms around, with sounds being generated from that. So I think it’s going two ways - I think there’re some people who want everything to exist virtually, so that nothing exists in the real world, but the person playing the instruments can see them and everyone else can see that they are experiencing something in a headset. Then there’s also people who are still developing very physical bits of hardware, in the same way that a guitar is a solid piece of hardware. I think what will prevail are those things which are the best tools for self-expression.
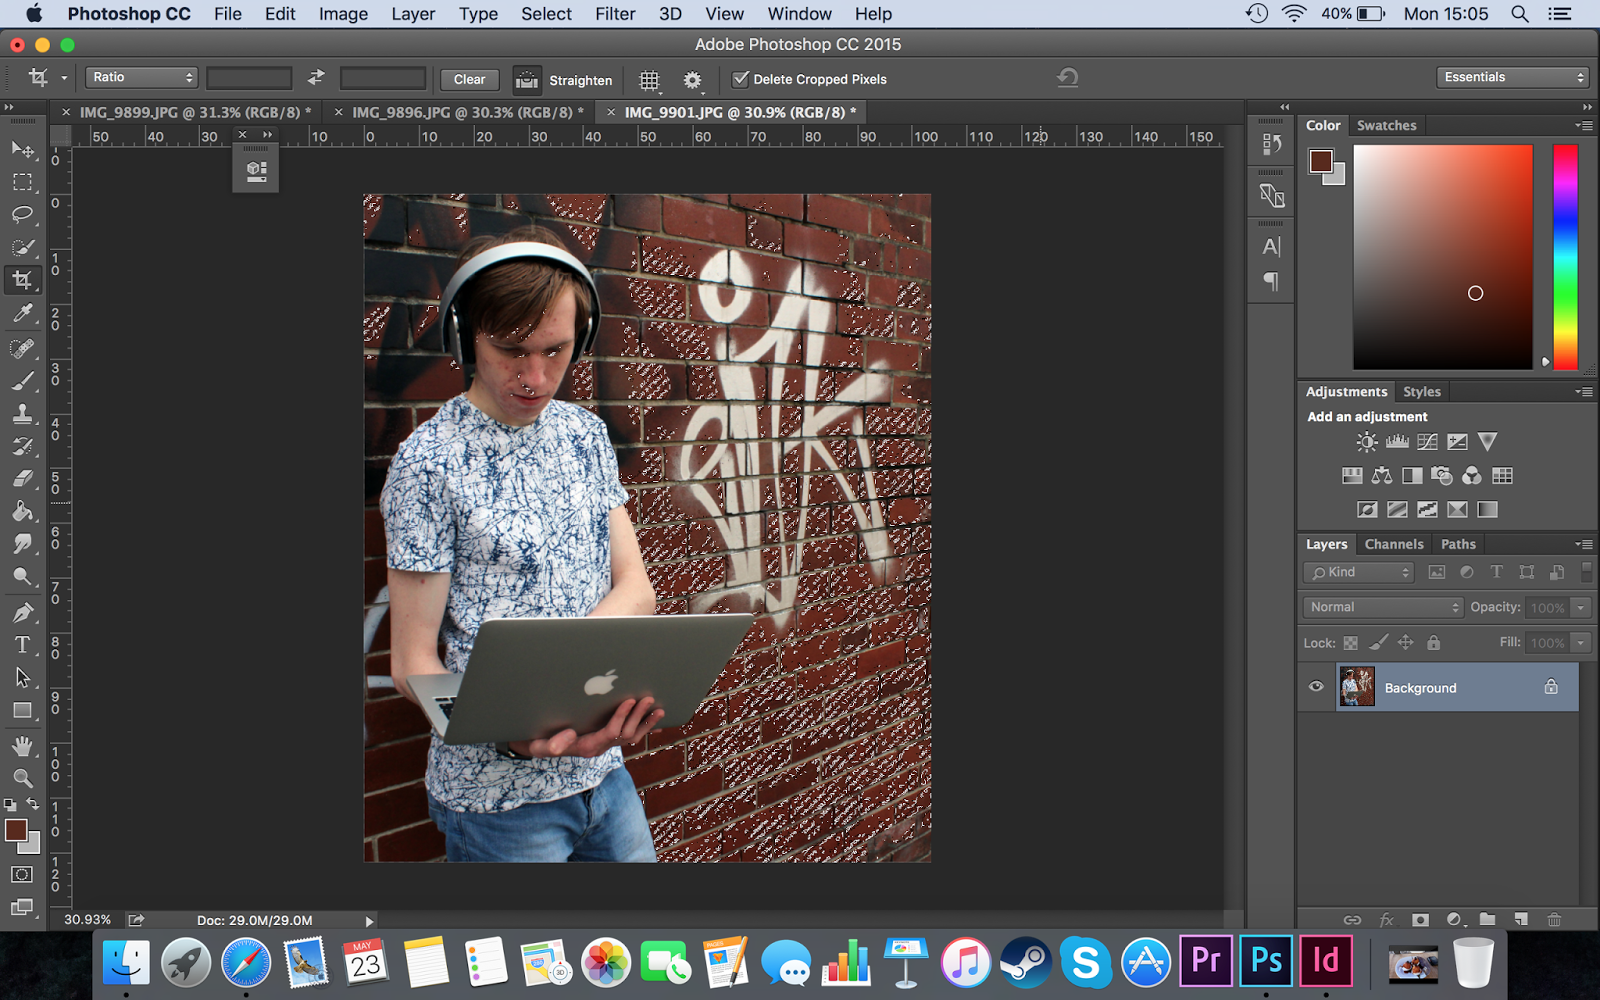
These are the comments that Matthew Milan made on the piece of writing:
This was the feedback I got from Matthew Milan for my article "Beaming" when we did the sub-editing task.
Based on these "weaknesses", I need to change numbers in my article to words. I also need to change the word "DJing" to "DJ'ing", as I found out that this is the correct way to spell it.